
Create a Function
To create a function, choose either the Python Template or Go Template by selecting the appropriate language template. The template provides a basic structure, and you can use auxiliary functions to refactor your code, ensuring the main Function is included.
- Path
- Method (
POST,GET,PUT,PATCHorDELETE) - Headers
- Query parameters
- Body
This information is the data you can provide to your Function.
- Set a status code
- Use the response body
- Add headers to the response
- Under User Functions, click Functions.
-
Click New Function.

-
Complete the following fields:
- Function Name: choose it carefully as you won't be able to update it once the Function is built.
- Enabled button: enable/disable the Function. This allows you to disable a Function so it won't be consuming resources (Altair Units won't be consumed while the Function is disabled). This way, you can have multiple Functions created for testing, they can interact with the code (create,update and delete) but the Function can't be invoked until it is enabled.
- Description: optional field to describe the purpose of the Function.
- Resources: set the resources in terms of CPU, memory and limits for
the pods. Default values are set automatically, and you can update those
any time, based on the information obtained from the metrics of the
function.
Figure 1. 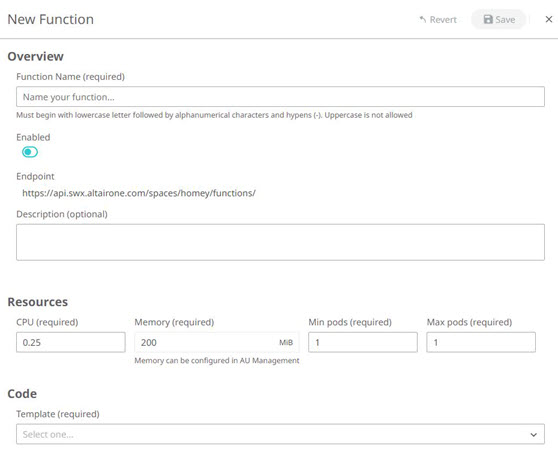
- From the Template drop down menu, choose the type of Function you want to code:
- If you choose to run a simulation model by using a FMU, upload the FMU file and click Save. Go to Upload an FMU File to Run a Simulation Model.
-
If you choose to code your function (either using Go or
Python language), a
template
for the code appears in the panel.
- The Examples drop-down allows to select a predefined example. The code will automatically populate based on the selected example. Make sure to fill the parameters
- The Libraries drop-down menu displays the available libraries you can use while coding. To use any library, select it from the list provided
Note: This action will allow you to add it to your template, but you will still need to add the import line to your code. The libraries added by default follow the same behaviour; imports need to be added to your code.Figure 2. 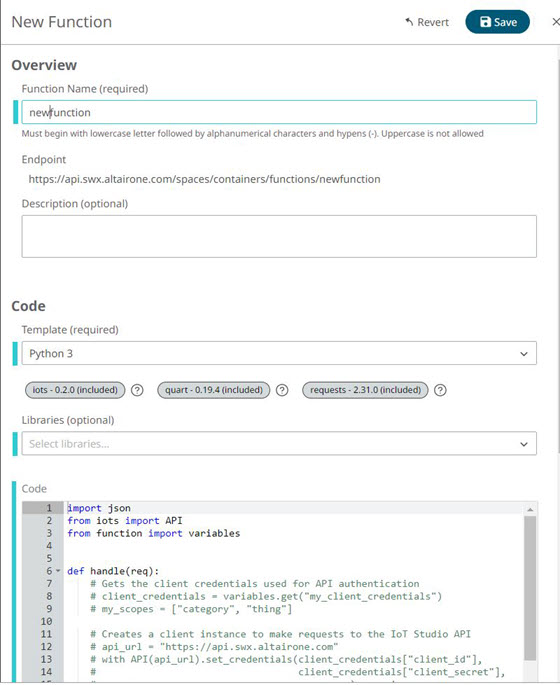
For Python functions:
The code section provides a code editor with key features including autocompletion as you type, which helps speed up coding , and intelligent suggestions that recommend functions, variables, and syntax based on your input. Additionally, the editor supports keyboard shortcuts to streamline workflow and linting capabilities, ensuring your code follows best practices by detecting errors or potential issues in real-time.