
Use Actions in a Dashboard
Next you'll create a button in a dashboard so you can set the Actions from it. Every time you click on the button, the input value will be required.
- In Real Time Visualization, access the Workbooks tab and click on + New Workbook.
- Name your Workbook and click Create.
-
Choose to Go to Data Table Editor.
Figure 1. 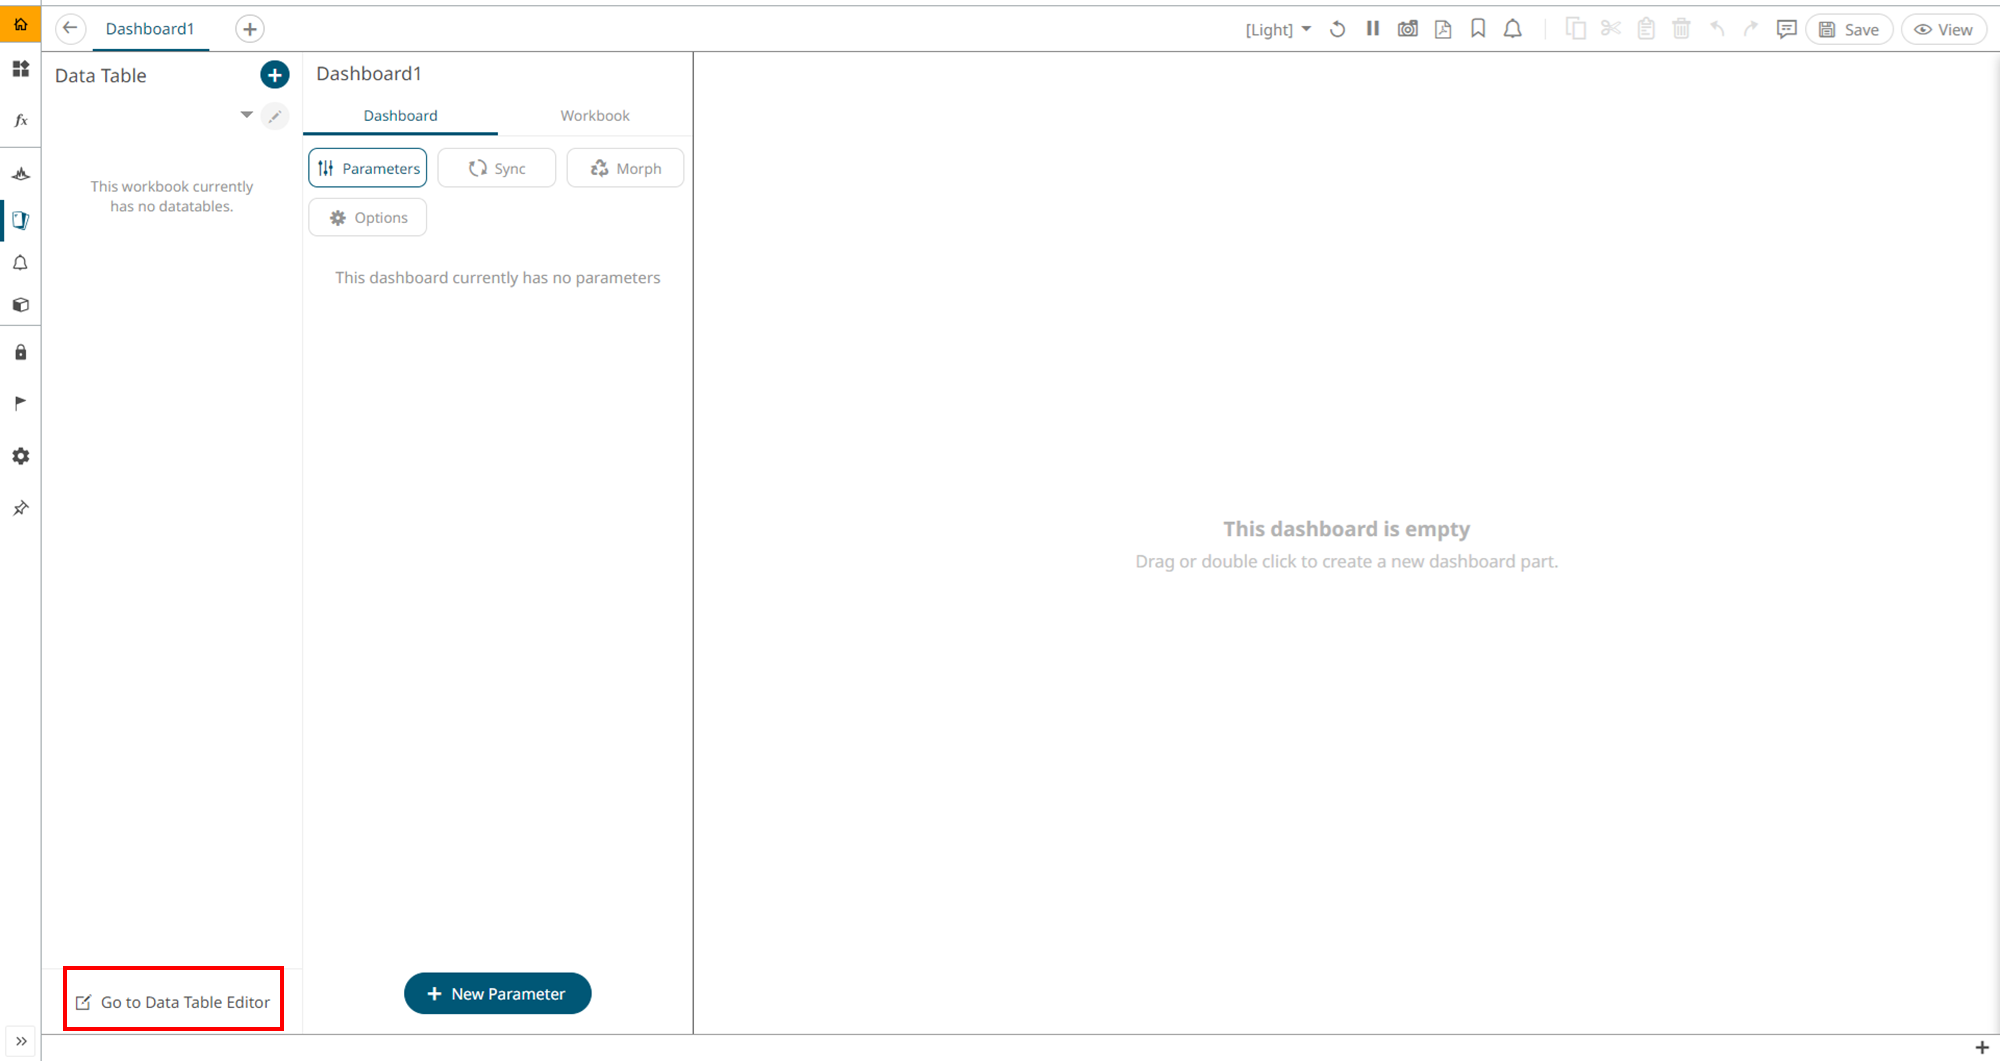
-
Choose to add a data table type Altair IoT Studio:
- Operation: Manage data through HTTP
- Space ID: enter your Space ID
- Client Id: from the App created earlier
- Client Secret: from the App created earlier
- Scope: thing
- HTTP method: POST
- URL: (customize with your Space ID and Thing ID)
For example:
https://api.swx.altairone.com/spaces/YourSpaceID/things/YourThingUID/actions/toggle - Request
Body:
{
	"toggle": {
		"input": {
			"value": "{value}"
		}
	}
}
-
The value of the Action should be interactive, so you need to define a
Parameter to host this input value under the Parameters section.
Your data table should look as shown below:
Figure 2. 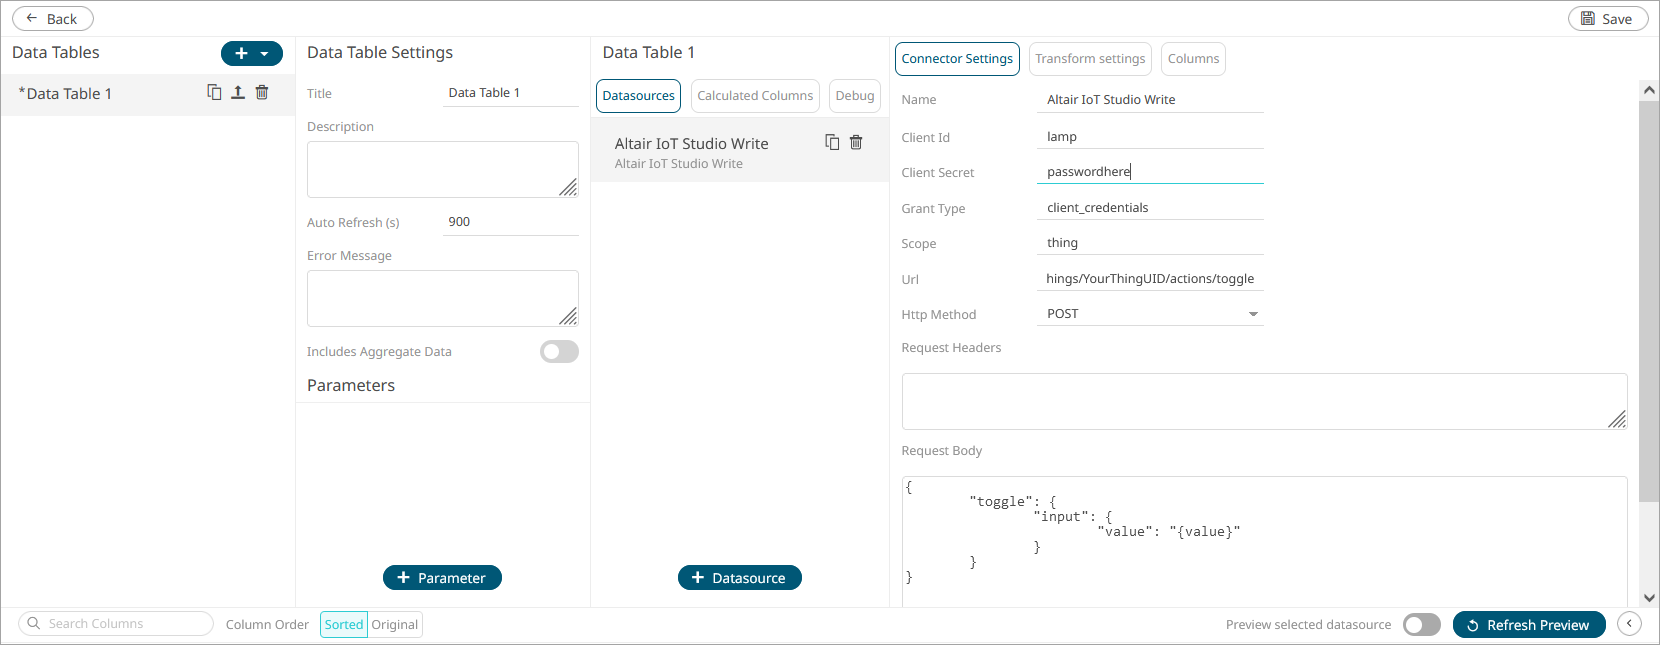
- Click Save and Back to return to the Edit Dashboard view.
-
On the blank canvas (right half section), sketch a simple square by clicking
and dragging on the blank interface.
This enables the Visualization menu.
-
Under Actions, choose Button and
configure it as follows:
- Action Mode: Update Data
- Target Datatable: choose from the dropdown the one you have just created
- Click on Value and choose Value Source Interactive
- Customize the rest of the fields as desired
Figure 3. 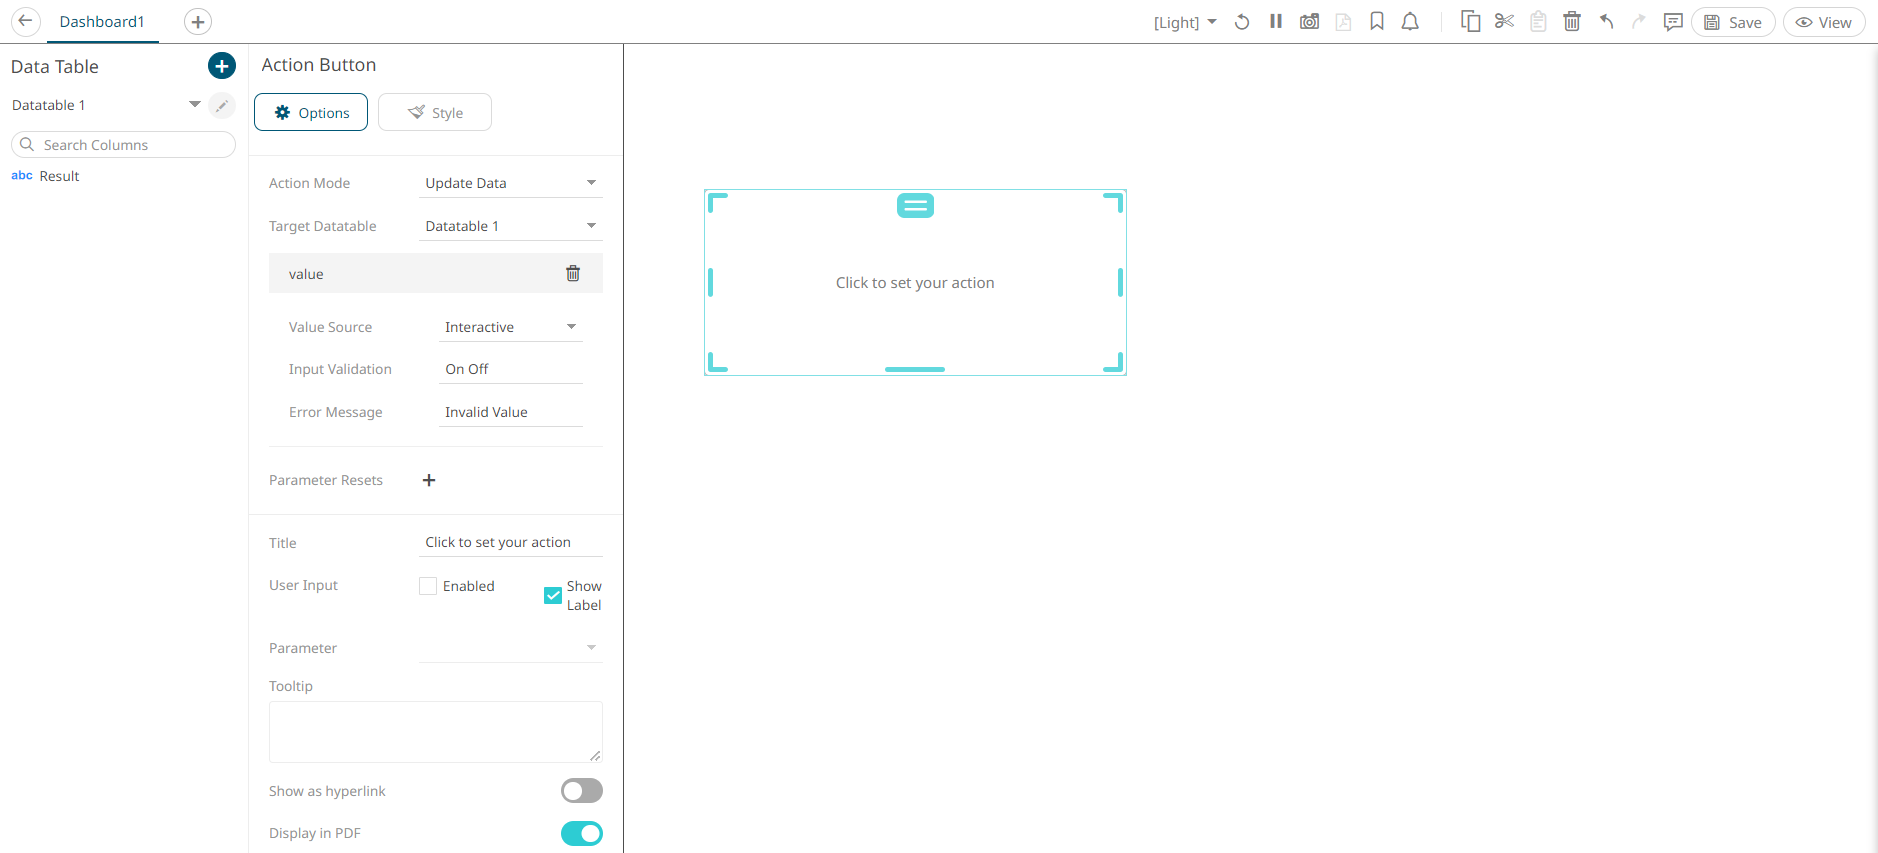
- Check that the button works as expected by entering a valid Input and confirming your Action has been received in your Thing.