Create a Function to Automate the Process
Functions provide the capability to execute the custom business rules.
For example, one of the Arduino property’s is "led_blink" indicating the status of the on-board LED. We want to count the number of times it blinks.
-
To create a Function, click .
Figure 1. 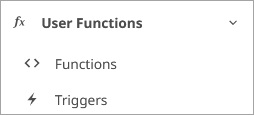
- Click New Function.
- Add the Function name as count-blink.
-
Select the Python 3 template.
Figure 2. 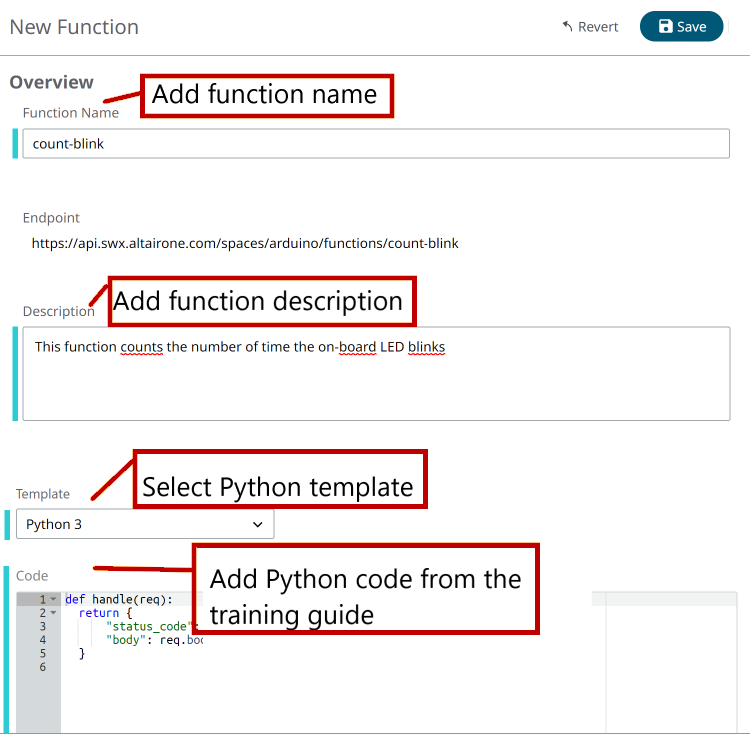
-
Enter the following code. In the provided code, complete with
the information required at the beginning. Also, complete the PATH with your own
values.
import requests
import json
from swx.auth.token import get_token

API_HOST = 'https://api.swx.altairone.com'

CLIENT_ID = "c3357f2e-f0a5-423c-aeef-ae979fb62291"
CLIENT_SECRET = "rWLqsbYY24JKaBMvd3yfJkC6tfgiBe"

def handle(req):
    with get_token(CLIENT_ID, CLIENT_SECRET, ["thing.read thing.update"]) as token:
        body = req.body.decode("utf-8")
        body = json.loads(body)
        led_blink = body['led_blink']

        if led_blink == "on" or led_blink == "On":
            PATH = "/spaces/arduinoblinktutorial/things/01HA4HX7Q4R19H1VGM0PCPDE3P/properties/blink_count"
            headers = {"Authorization": "Bearer " + token.access_token, "Prefer": "preview=2023.1"}
            response = requests.request("GET", API_HOST + PATH, headers=headers)
            blink_count = response.json()['blink_count']
            blink_count = blink_count + 1

            response = requests.request("PUT", API_HOST + PATH, headers=headers, json={"blink_count": blink_count})

    return {
        "body": response.json(),
        "status_code": response.status_code
    }
-
Add an Event trigger as follows:
spaces/{your_space_name}/categories/{your_categories_name}/things/{your_thing_uid}/properties/led_blinkWhen using this method, the Function will be invoked whenever there is a change on the Property
led_blinkon the Thing you have created. -
Deploy your Function by clicking Save.
The Function is created. This could take a few minutes. The status of your Function will be updated to a Building status and, eventually, it will become Running. At this point, your Function is ready to be called.
-
You can edit the code in the Code tab as necessary.
Figure 3. 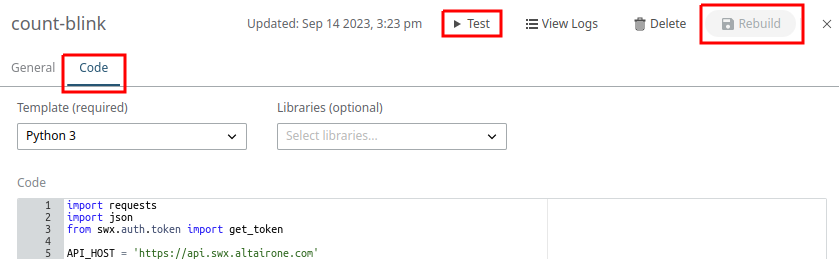
-
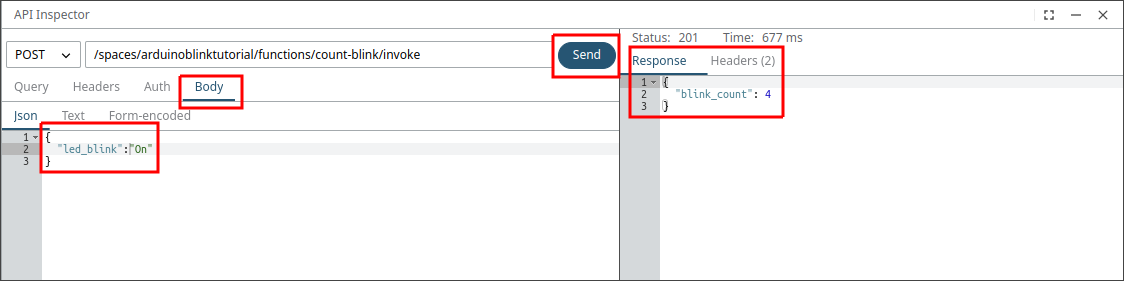
You can test the Function by clicking Test.
This will open the API inspector.
-
To test the Function enter the request input field
{"led_blink":
                        “on”}
and click Send.The Test Response field shows blink count result.Figure 4.