Manage Data Through HTTP
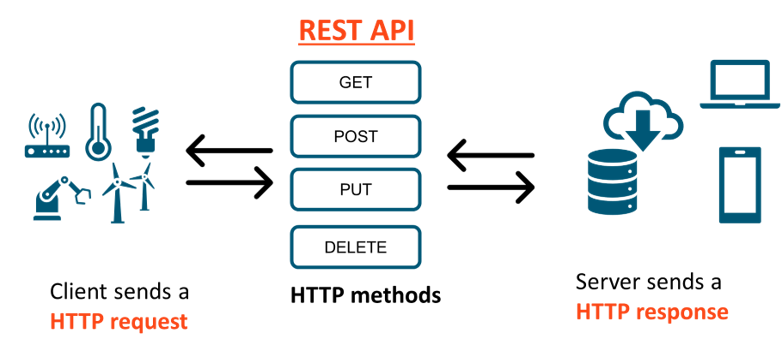
Figure 1.
To send data through HTTP and update the Properties value, you need to send a PUT request. Check the API Documentation to find more details about the properties and properties history API (e.g: read data through HTTP, update properties without persisting the values, add data with a specific timestamp or delete data).
- PUT
-
/spaces/YourSpaceID/things/YourThingUID/properties - BODY
-
{
"state":"Off"
}
Using the API Inspector
The API Inspector is an easy to use tool that enables new users to get familiar with and interact with the Altair IoT Studio API structure. Requests can be made through the API Inspector without having to worry about authentication details, as this information is automatically populated. You can create multiple instances of the API inspector, allowing you to jump back and forth between sessions.
The left panel is used for making and configuring requests, and the right panel will display the responses.
- Query Parameters Tab
- Specify the parameter key and value, and they will be URL encoded when you submit the form. See the API page to see which parameters are supported for each endpoint.
- Header Tab
- Use to define your request headers.Note: As we are transitioning to the new AnythingDB, all requests to the API must include the Prefer: preview=2023.1 header. Otherwise, they will fall back to the original AnythingDB API. After the original AnythingDB API support is dropped, this header will no longer be needed.
- Auth Tab
- Enables you to authenticate with something other than your Studio session. Here you can send requests or authentication from an application or device.
- Body Tab
- Use to make a request using a payload. Options include a JSON request, text request, or form URL encoded. For example, you can create a new Thing here, rather than using the dialog-based user interface.
Use the drop-down menu to define your REQUEST. The URL is automatically populated with your current space, which helps you select the correct end points. Edit the URL to define what you want to request. Use the Query tab to set some parameters around your request (such as limit the results to show only 2 items).
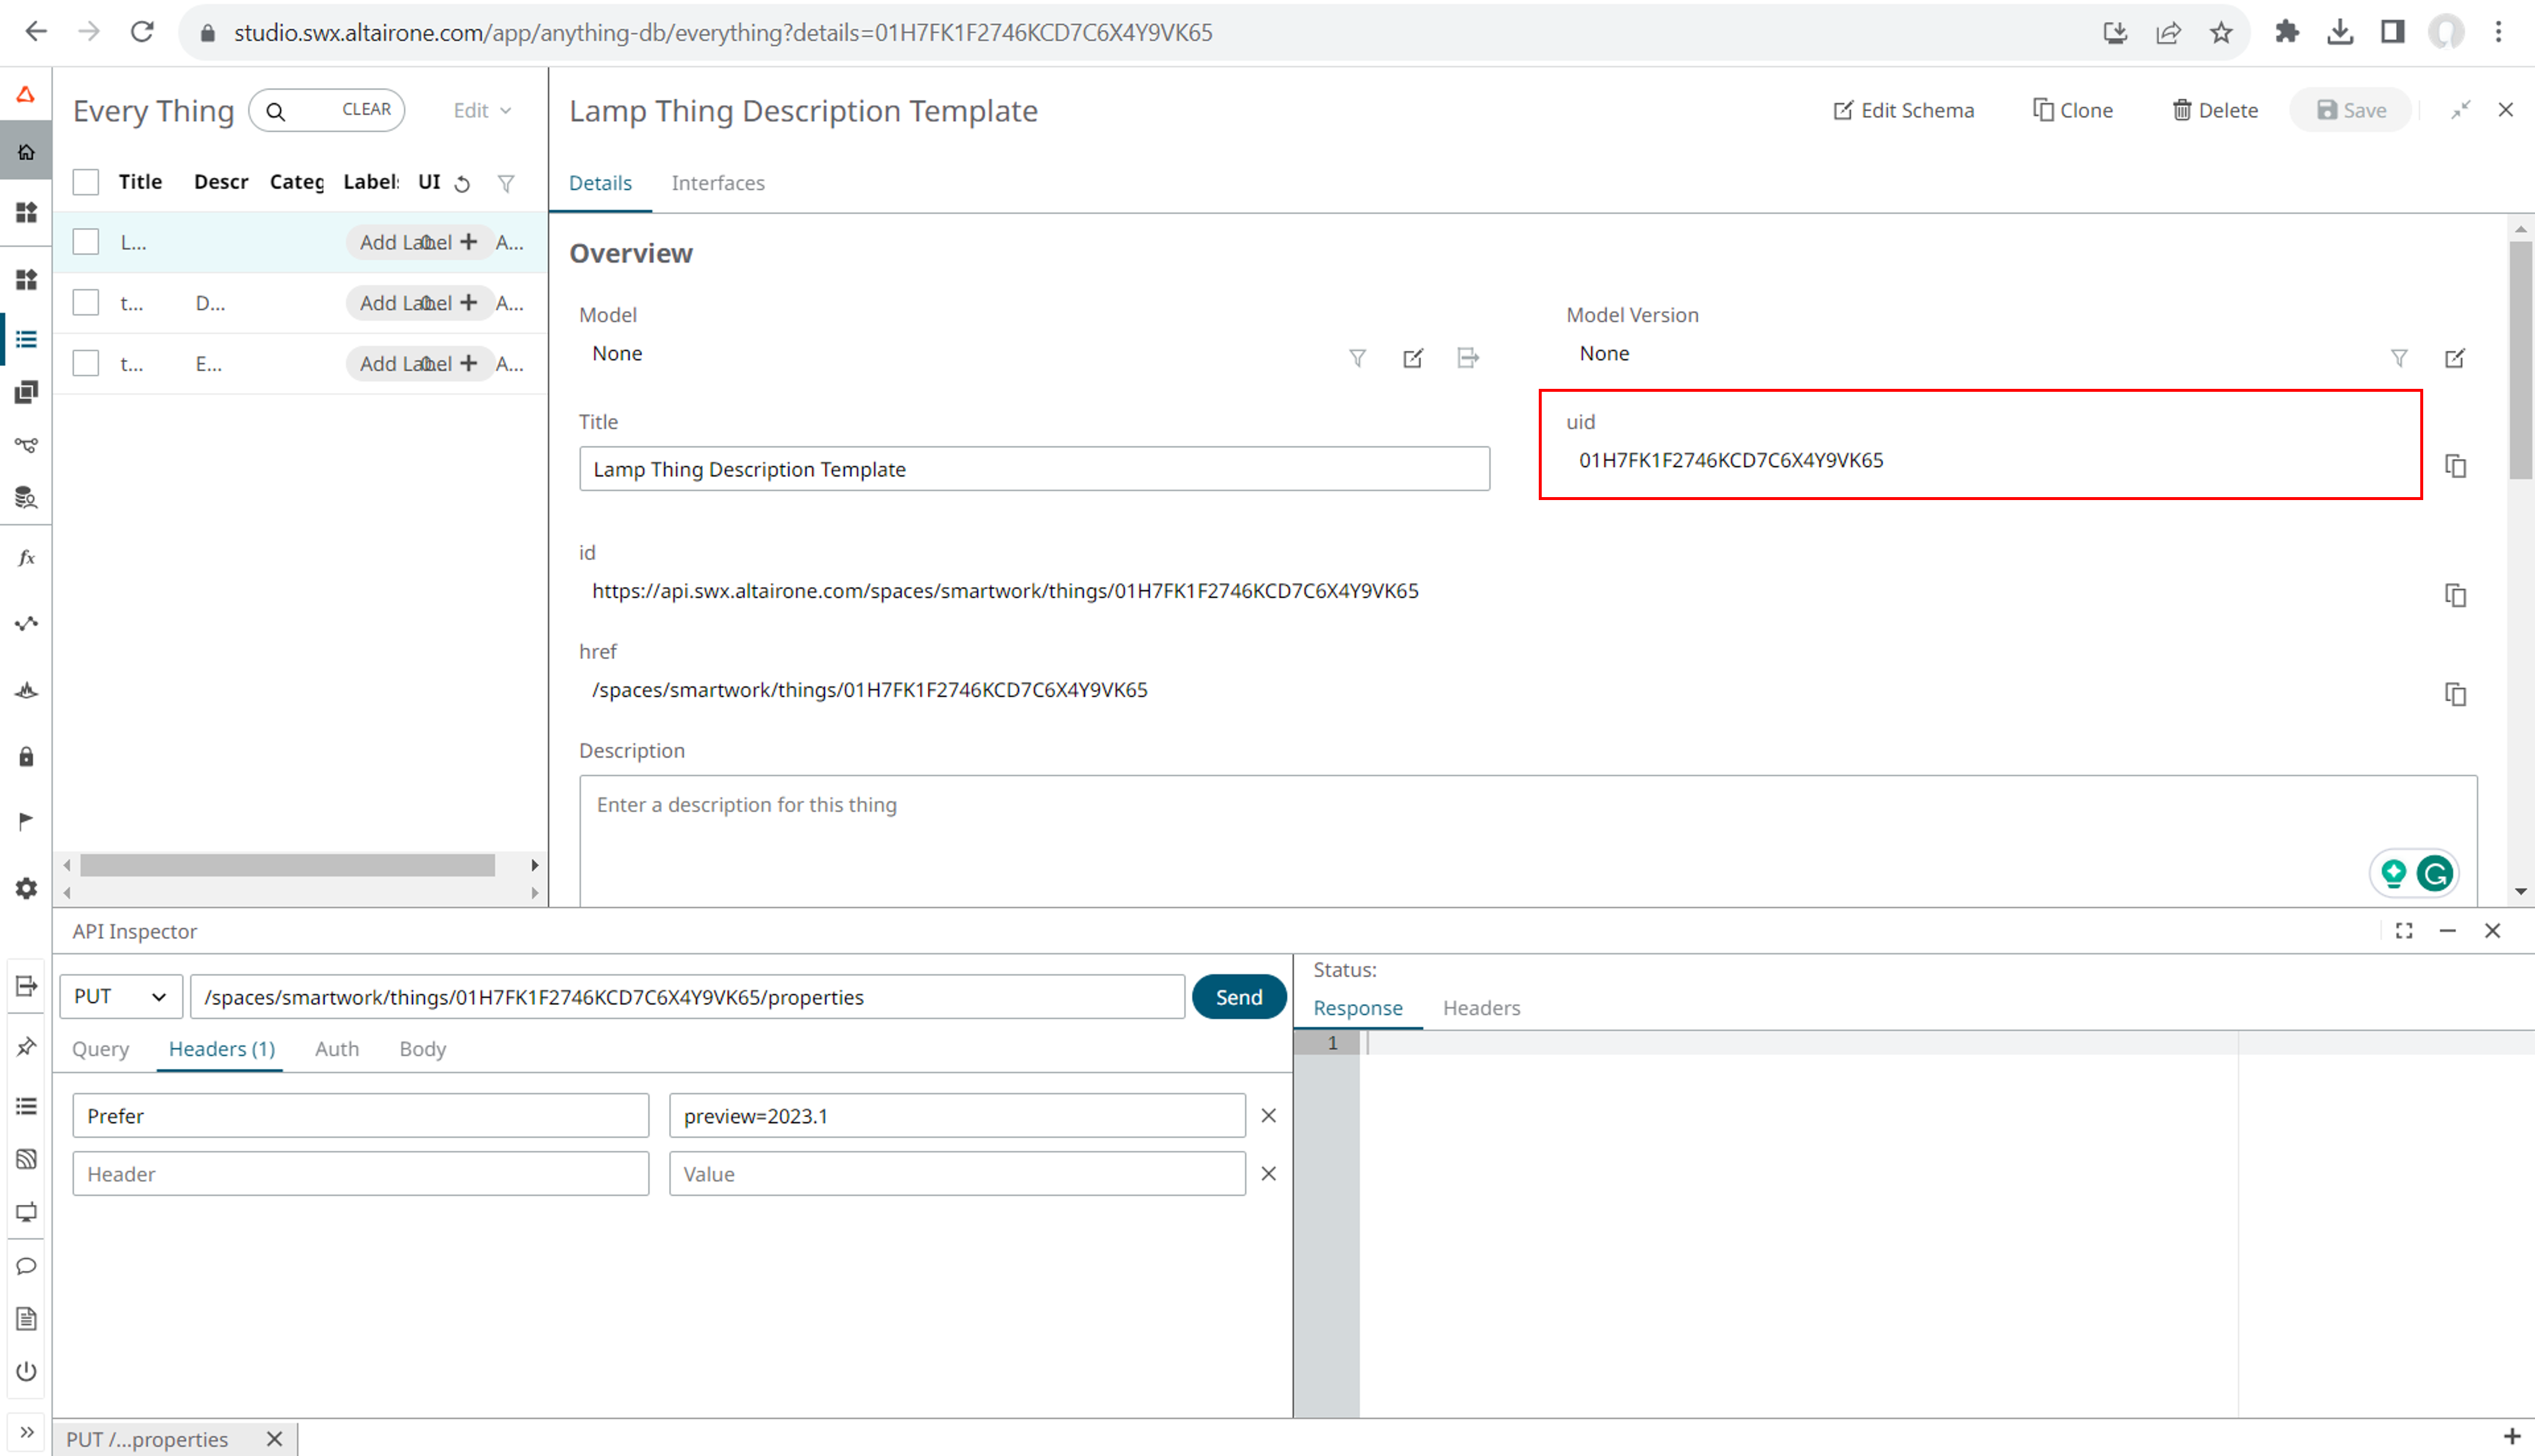
Figure 2.
See more in the API page.